This isn’t going to be a tutorial, but I wanted to highlight an interesting self-managed VPN solution called Tailscale. It’s not the kind you pay money for – at least not as a home user. It’s not really for encrypted web browsing, either!
Instead, Tailscale creates an encrypted tunnel for communication between devices in what’s called a Tailnet. Say you have a NAS set up on your home network – by creating a Tailnet wherein your phone and the NAS are clients, you’ll be able to securely access the files sitting on your home network from anywhere in the world.
The best part is that once you’ve set up an account, it takes all of one minute to install and enable!
Personally speaking, I still had a home server or two connected to the internet via port forwarding. This was a simple way for me to address that vulnerability while maintaining remote use of my personal network’s resources.
If this sounds useful to you, just copy and paste the command on the download page then follow the onscreen instructions.
And no, this isn’t a sponsored post – though if you find someone willing to pay big money for exposure on a site that pulls in ten hits a day, do let me know!
Let me introduce you to Linux Mint’s very own backup utility, Timeshift:
Timeshift is quite a bit more flexible and (in my opinion) user-friendly than the default backup tools offered by Windows. Let’s run through the setup wizard.
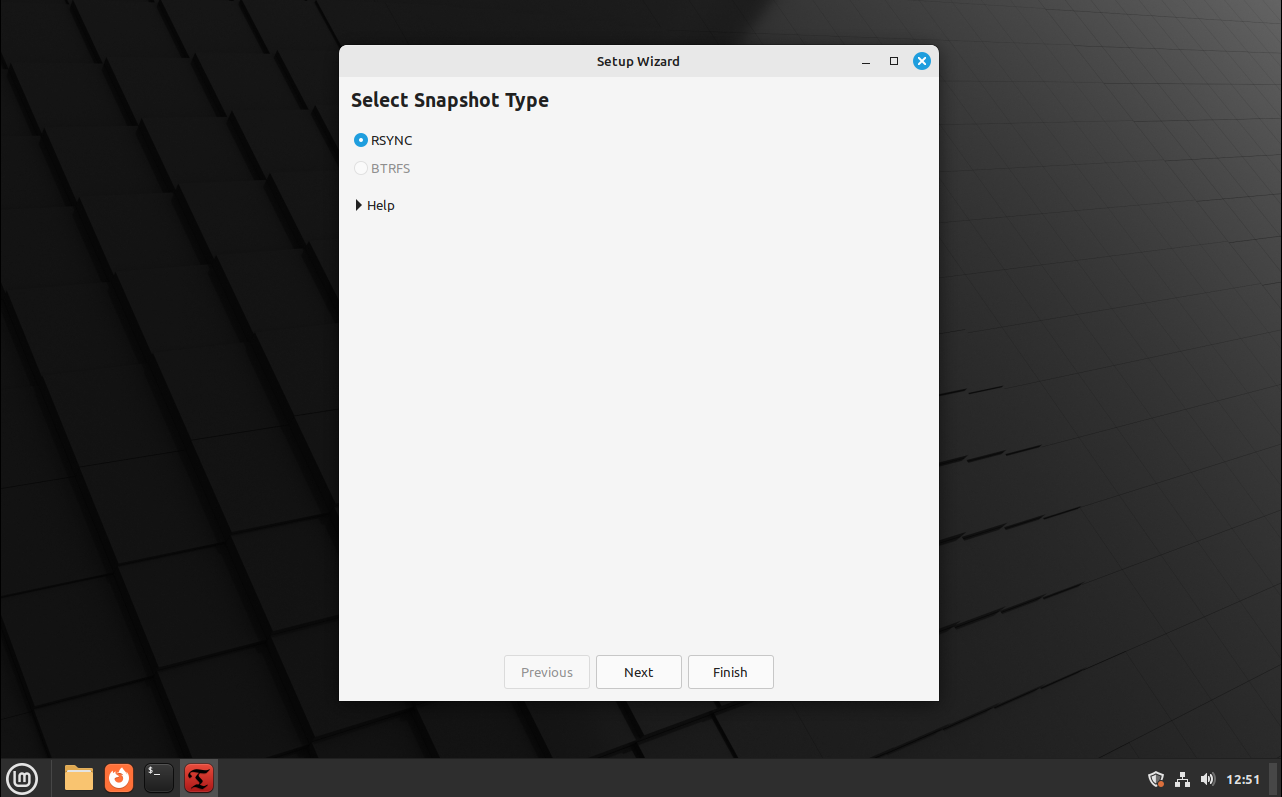
First, select RSYNC and click next.
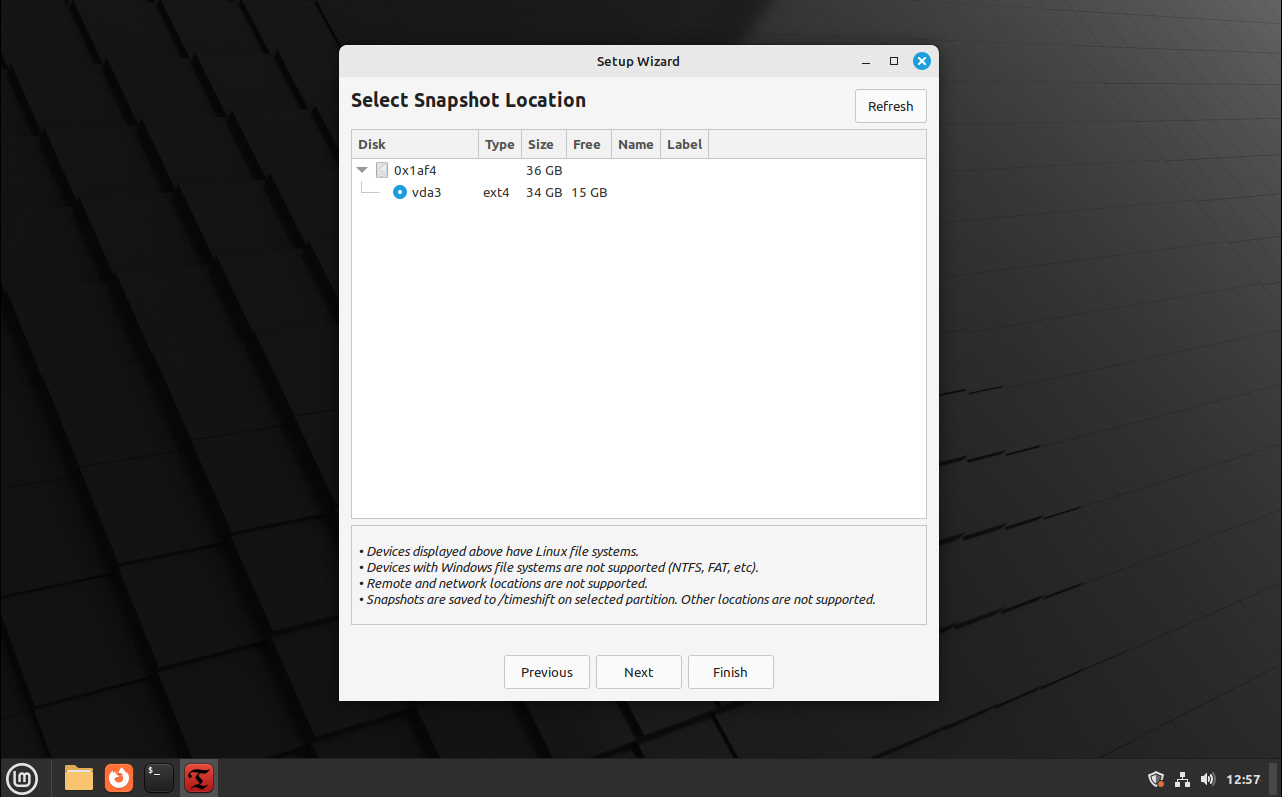
Next, we select the drive we want to store our backups on. You’ll want this to be a drive other than the one you installed Linux on. Backing up to the drive you’re backing up is very silly.
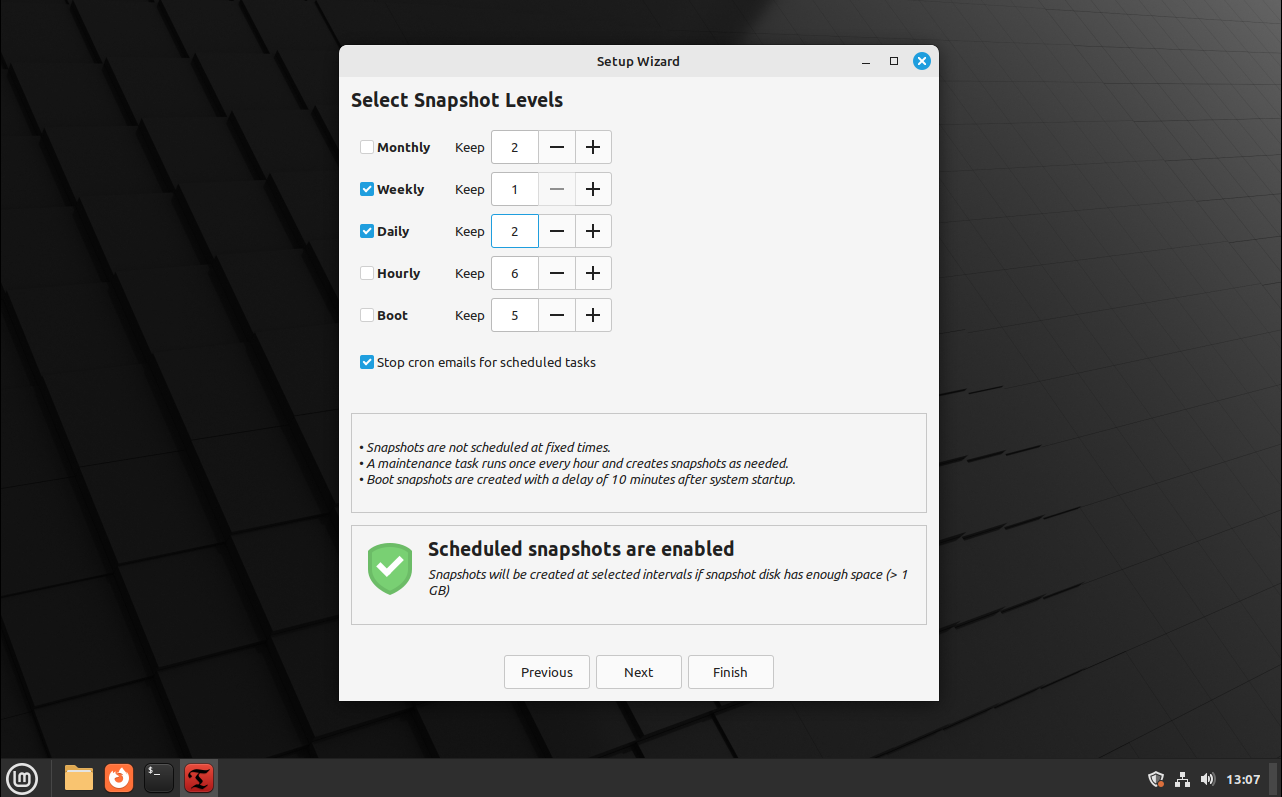
Next we set backup frequency. I recommend keeping at least 2 daily and 1 weekly. You might want to keep more frequent backups if you’re doing any kind of mission-critical work, but be advised that this will take up more space on the drive you’re backing up to.
You can leave Stop cron emails for scheduled tasks checked – if you’re following this guide you probably don’t have a need for those!
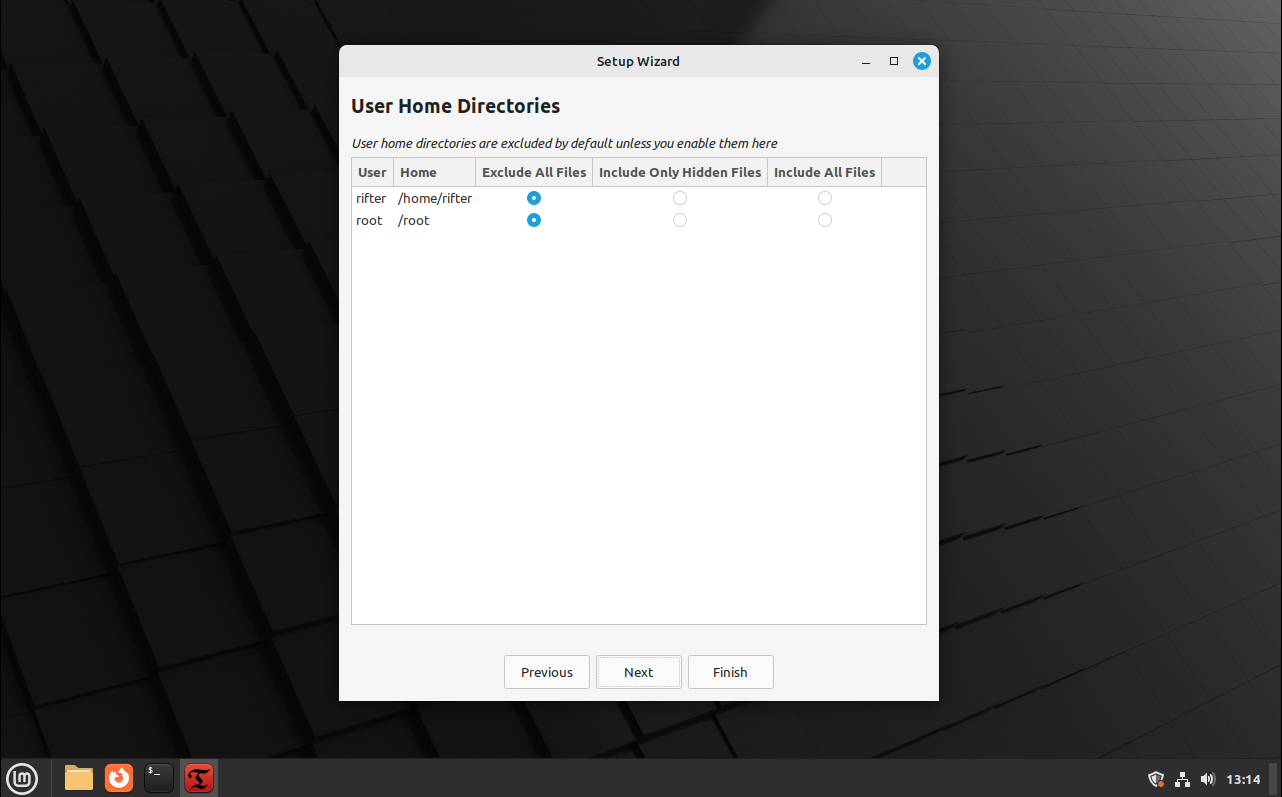
This screen is the important one. You can choose include all files for both directories and be done with it, but that isn’t necessarily the best way for everyone! Let me explain:
The home directory is where more personal information that isn’t essential to the operating system lives.
The root directory contains stuff important to your operating system.
By selecting just the root directory here, you can restore your operating system without affecting personal data.
This can be useful in situations where you make a weird computery mistake that you don’t know how to undo or in the very rare occasion that an update breaks something. You can restore your computer to a prior functioning state without reverting work you’ve done since last backup.
Set things up to your liking, then click next.
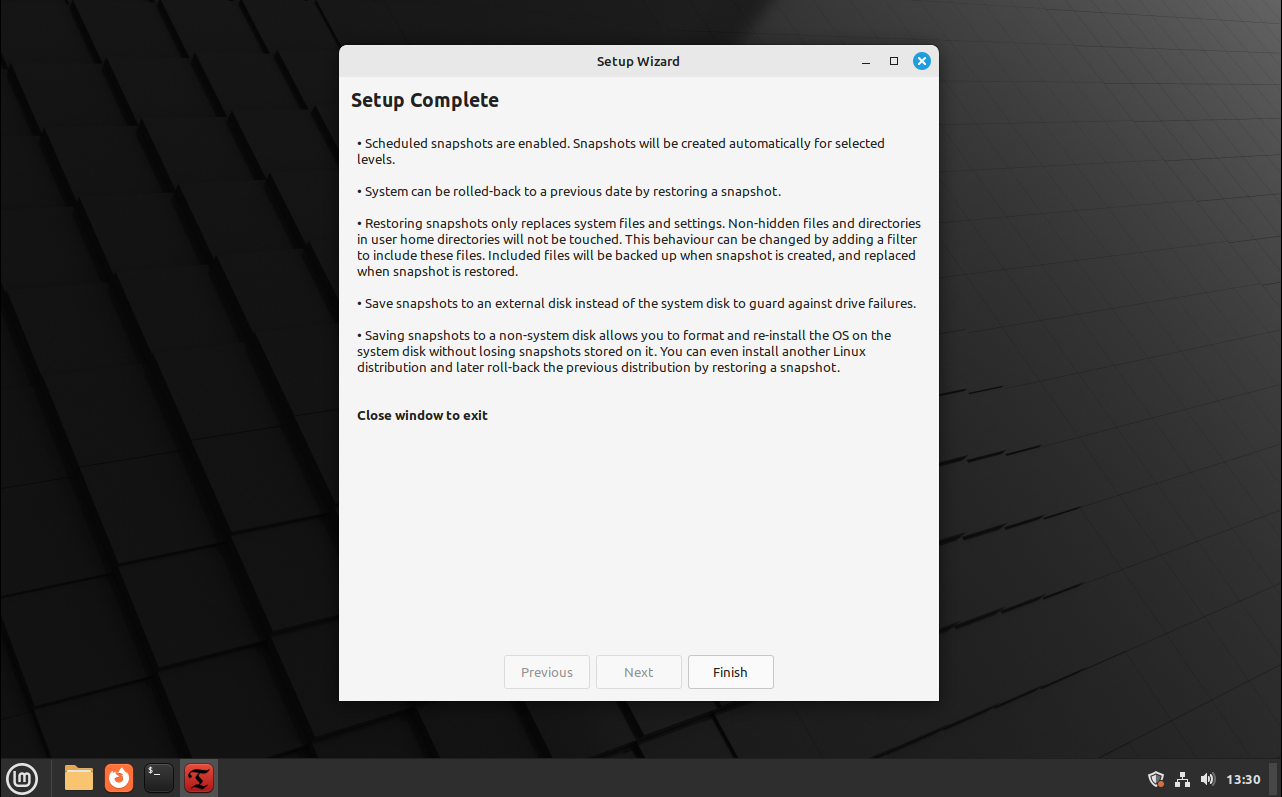
You’re done! Click Finish:
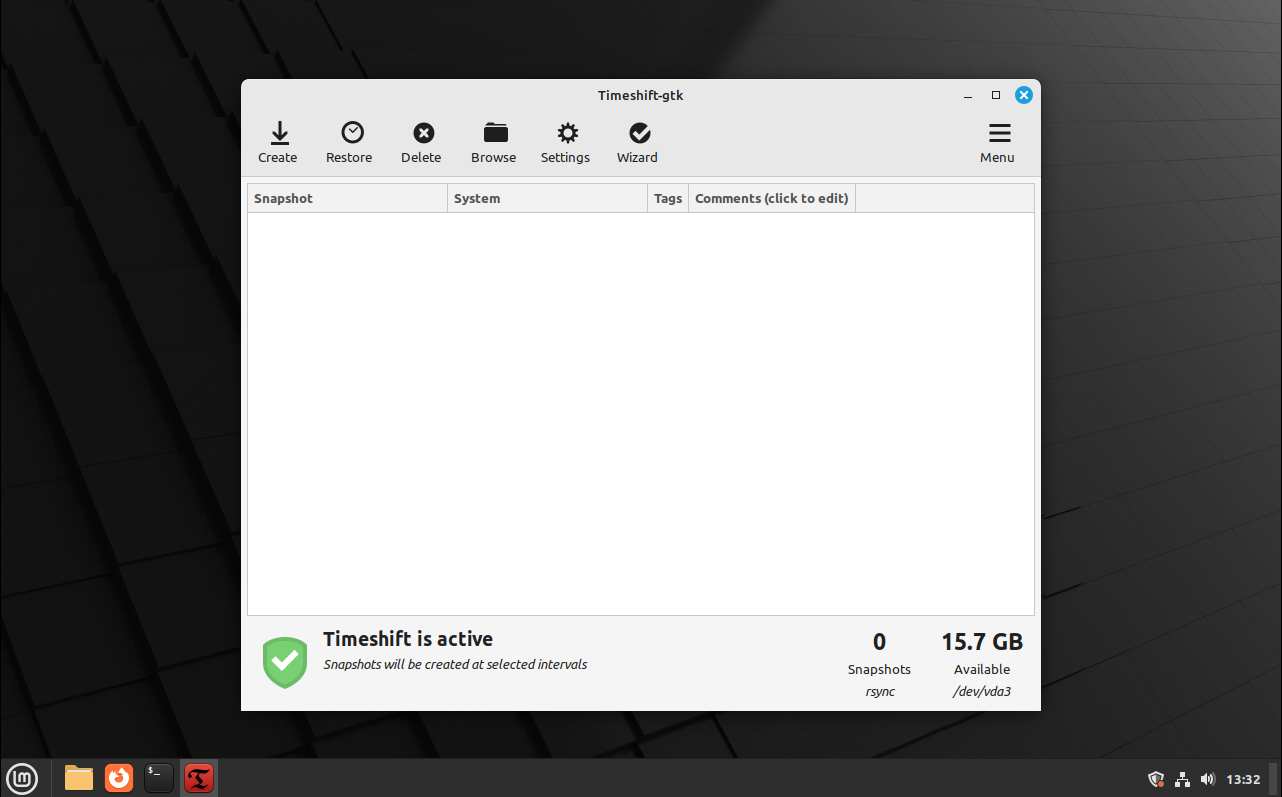
Here you can create elective backups, restore a backup, delete a backup or run the setup wizard again – but how does all this work?
Simply put, Timeshift’s RSYNC checks for differences between the backup and the current system state. From there, files are deleted or restored as necessary to regain the prior system state.
This isn’t a 100% fullproof backup solution and you should still keep multiple routine backups of anything you value. Having said that, Timeshift IS a powerful tool for getting back up and running quickly.
That’s all for now. Thanks for reading!
By using this tutorial user agrees that they hold sole responsibility and liability for any damages, inconveniences or loss of data incurred, including potential financial damages. No warranty or ongoing support is offered or implied. Linux and Linux Mint are the property of their respective copyright holders and the author of this website claims no association.
The following material is geared toward those with an interest in tinkering and technical learning – it isn’t necessary for day-to-day use of your operating system.
Still, if learning something new sounds like a good time, let me draw your attention to that little black box on your taskbar:
Trick #1: Quick System Updates
Give it a click! This is the terminal! I promise it isn’t scary.
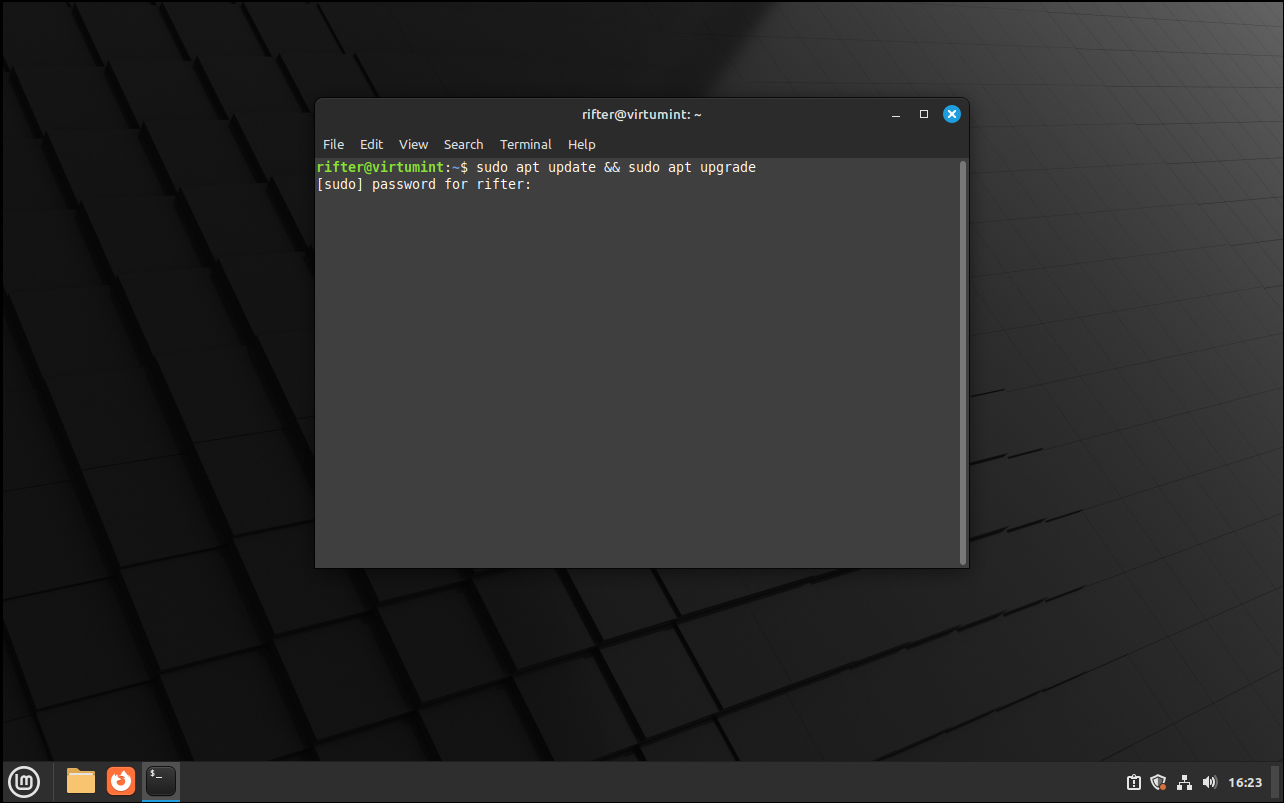
As you can see, I’ve already typed something:
sudo apt update && sudo apt upgrade
Don’t worry about what all that means for now. Just type it out, hit enter and type your password when prompted:
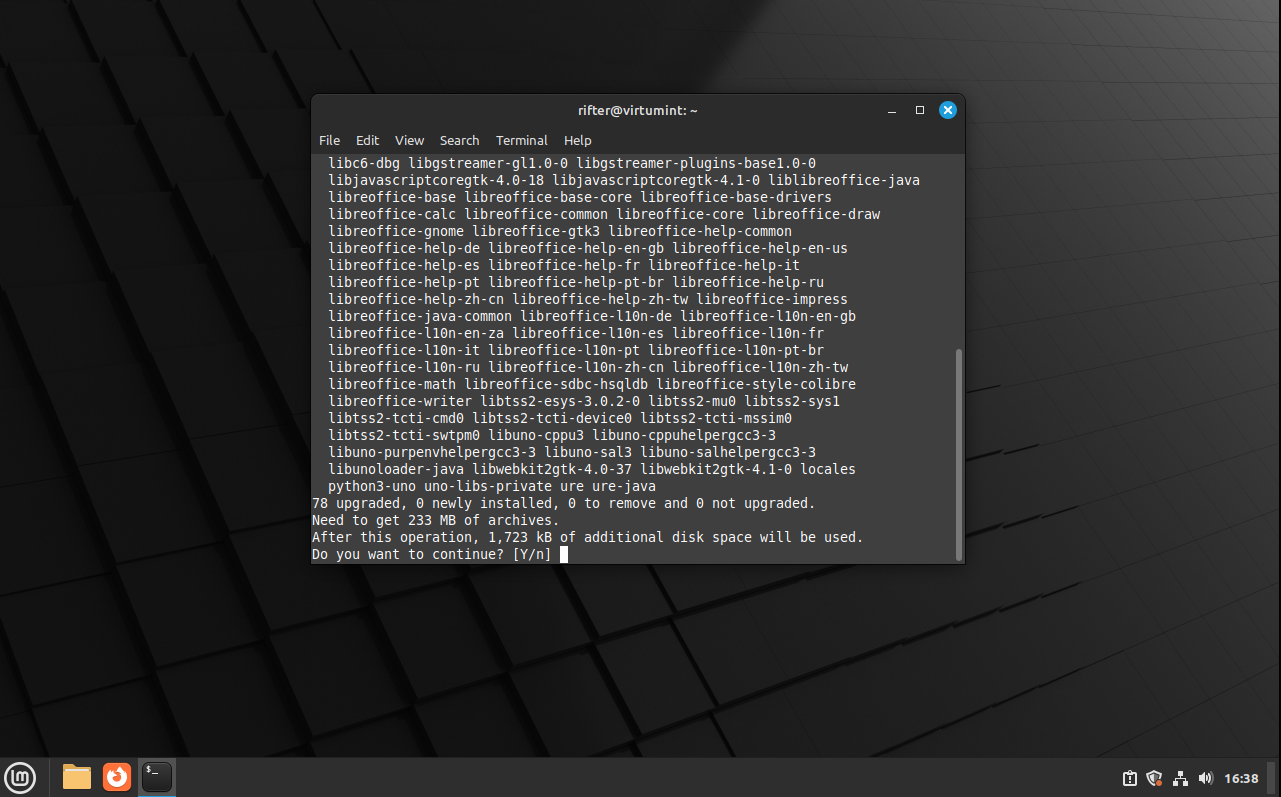
Wow, that’s a lot of gibberish! What just happened? Take another look:
Let me break it down for you: sudo stands for “super user do” and it serves the same function as those Microsoft Windows prompts that ask for your permission as the administrator to install new software.
In plain language, it’s like telling the computer “I, as the administrator, order you to do this!” That’s why we had to enter our password just now.
Apt is the component of our operating system that handles downloading new apps and updates.
Update asks apt to search for updates to all core OS packages – but not flatpaks!
&& is like saying “After the first task is completed, do this next!”
Next, we tell apt to run an upgrade on everything with updates available!
In plain English, we said “I’m the administrator and I want you to check for updates, then upgrade anything with a newer version available!“
That’s what that enormous list was – I’m going to upgrade all that stuff in one go! Bear in mind, you might not have any upgrades available, but if you do, just type y to run them. All in all, running updates this way can be a bit quicker than using the graphical update manager once you get used to it.
Watch your system work for a bit. This stuff was happening on Windows too – it was just hidden from you.
Trick #2: Install a Cool System Monitor!
Remember when I told you to look for flatpaks in the software manager first when installing new software? That’s still a good idea and I’m going to use an object lesson to show you why while giving you a new toy to play around with.
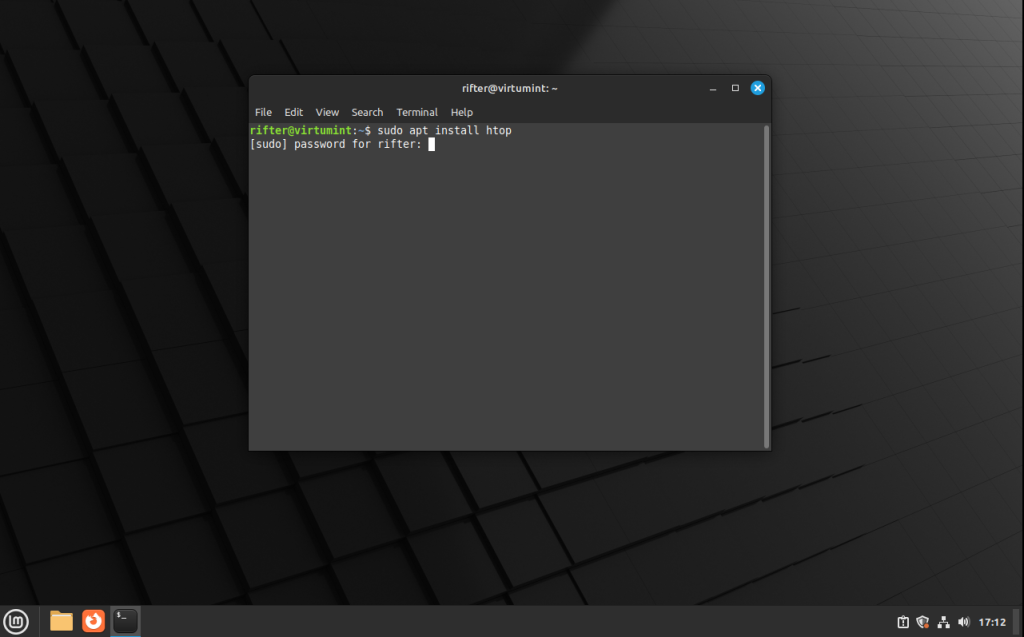
Open your terminal again:
Type sudo apt install htop for me and enter your password.
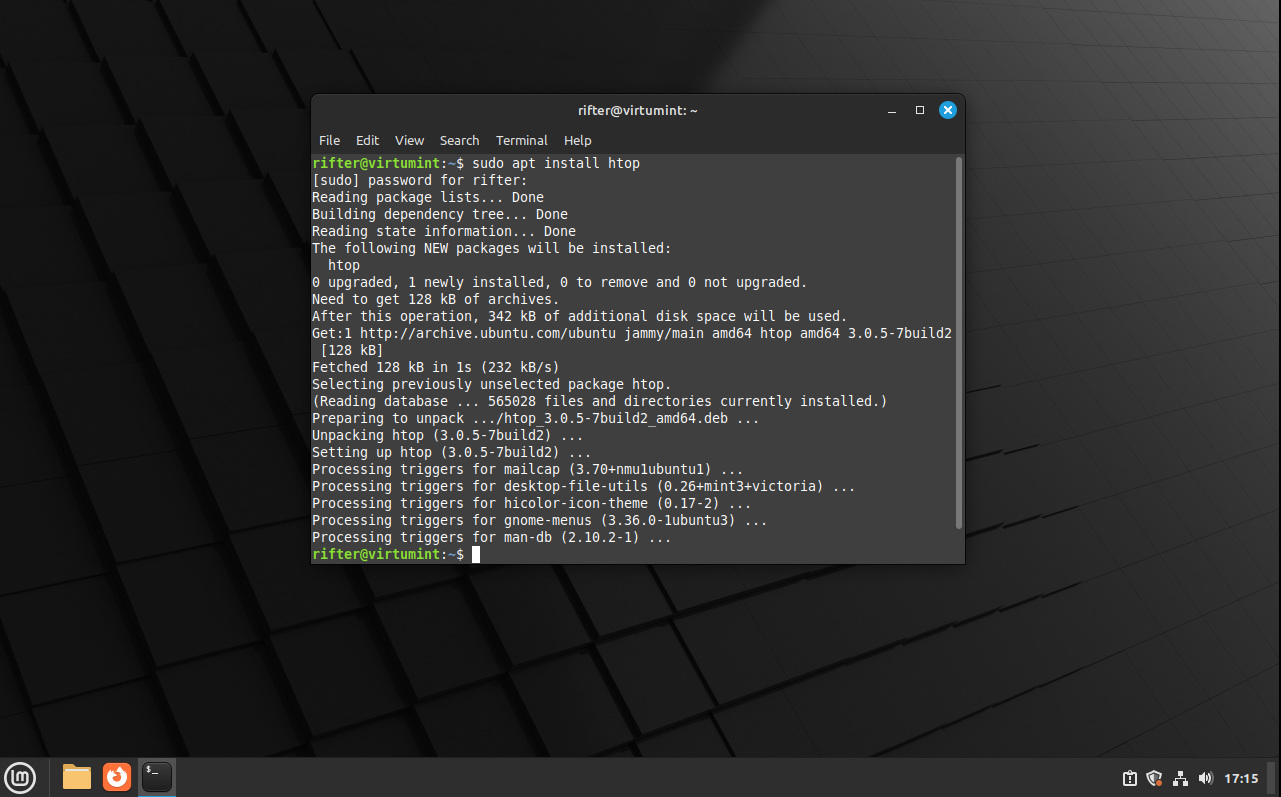
Only a single piece of software needs to be installed, so apt will just go ahead and install htop for you!
However…
Do you see the row that says 0 upgraded, 1 newly installed, 0 to remove and 0 not upgraded?
Let’s imagine for a moment that, whether by a bug or due to what’s called a package conflict, that line had instead said something like 100 to remove. In these situations, apt will ask you for confirmation before uninstalling software. In this hypothetical circumstance, had you not noticed and agreed to continue, anything could have been uninstalled. Even some really important stuff!
Package conflicts typically occur in situations where two bits of software that fit into the same hole bump into one another – to put it simply, someone has to get out of the way.
If you’ve ever had a Microsoft Windows update break on you, it’s possible that something like this was the cause. Someone at Microsoft didn’t do their job and, because you weren’t allowed to see the details of the update, you paid the price – not them.
This is one reason as to why my tutorial urges the use of flatpaks. Because flatpaks run in isolation, there’s little chance of such an oversight causing damage to your operating system.
Strictly speaking, you can install whatever you want on your system, however you want – you just need to pay attention if you’re going to do it this way.
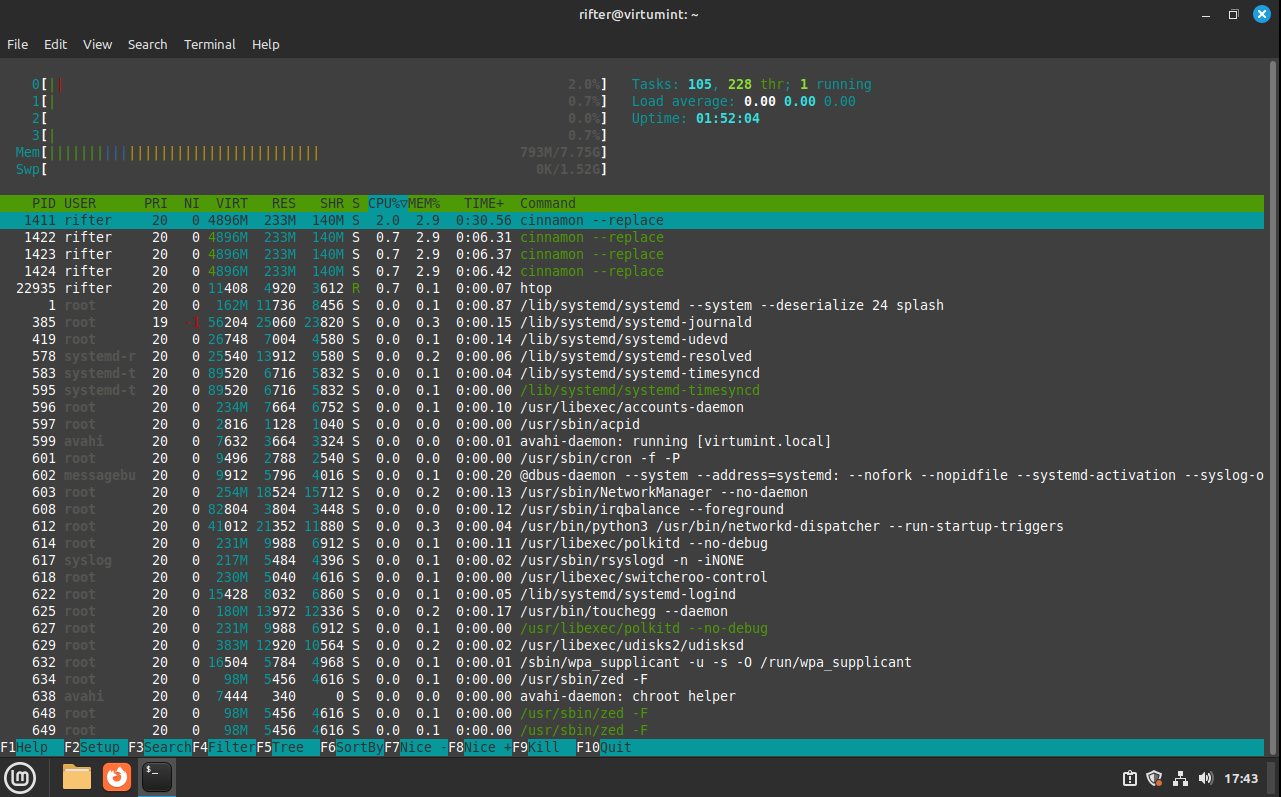
Anyway, go back to the terminal and type htop.
Wow!
By using this tutorial user agrees that they hold sole responsibility and liability for any damages, inconveniences or loss of data incurred, including potential financial damages. No warranty or ongoing support is offered or implied. Linux and Linux Mint are the property of their respective copyright holders and the author of this website claims no association.